Grouping objects is one of my favorite ways to create a big design impact inexpensively. I’ve seen picture frame wall groupings in countless home decor magazines and I have always loved the look. I thought it would be a fun way to display Mr. Boy’s budding art talents and bring some much-needed life into my bland stairway.
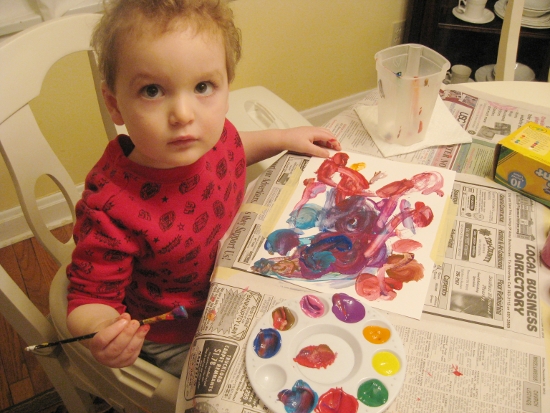
I let my then 2 1/2 year old little artist go to town with kid-safe paints on 8 1/2 x 11 paper. I scoured thrift shops and dollar stores for unique but inexpensive picture frames to house his work. Once I had a selection of colorful abstract art, I cut the pictures down to fit within the various frames I had found.
I have to admit that I detest hanging pictures on the wall. It’s always been such a pain in the neck getting the measurements just right and the nails in the right spots. I decided to try out a method I’ve seen a lot, though, and it worked so well that I thought I’d share it with you.
Step 1: Lay out art on a piece of craft paper
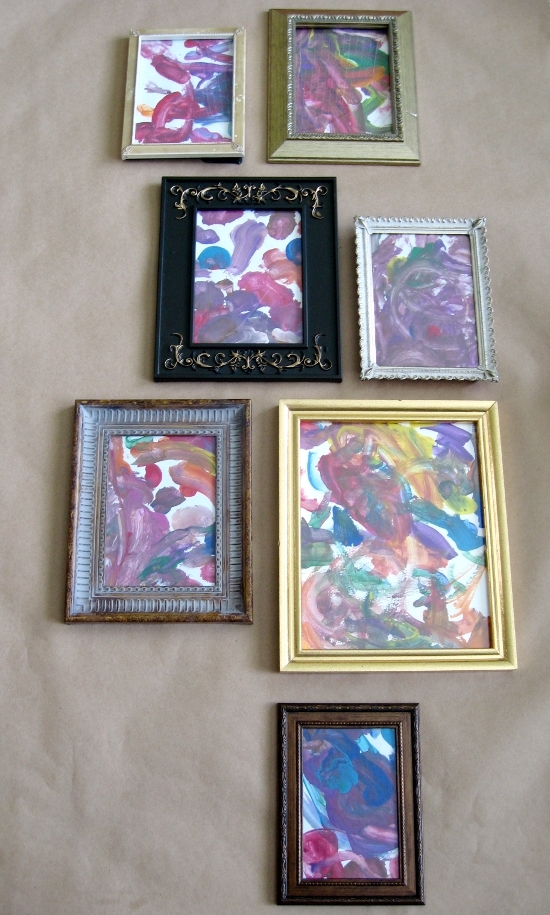
If you don’t have craft paper, you could use old wrapping paper, spare wallpaper, or even tape newspaper together to create a larger sheet. Whatever you use, make it large enough to accommodate the kind of grouping you envision. Try a few different layouts until you find a look you like.
Step 2: Trace the outlines
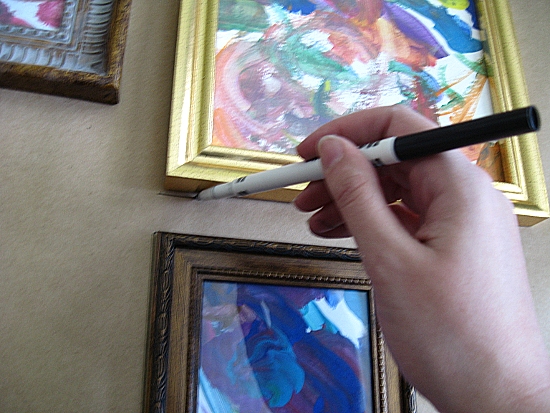
Use a marker to trace around the outlines of each frame. Then label each outline with a description that will help you remember which piece belongs where.
Step 3: Measure and mark nail locations
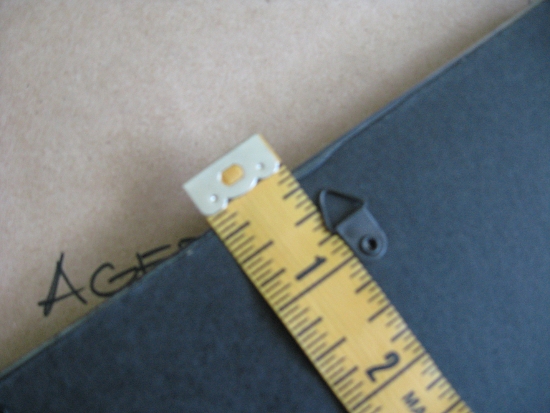
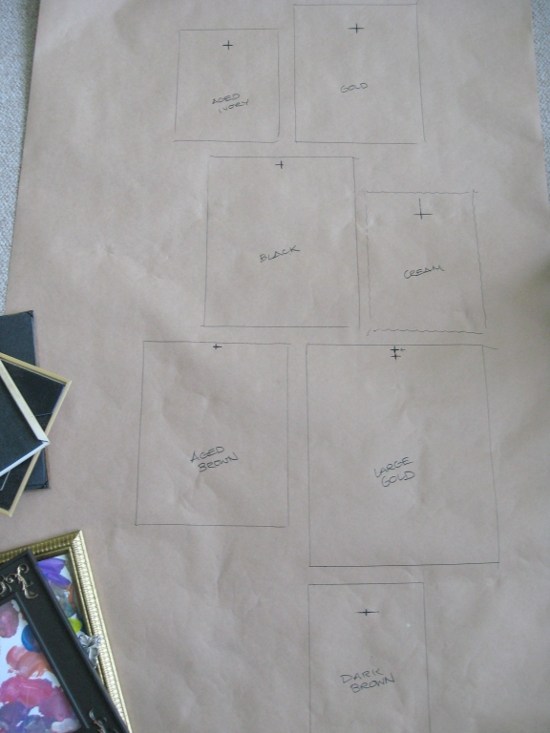
Measure from the top edge of the frame down vertically to exactly where the nail will need to be placed. On your traced outline, mark your vertical distance as well as the middle of the frame (measured horizontally). Where the two measurements cross will be your nail location.
Step 4: Apply template to wall and add nails
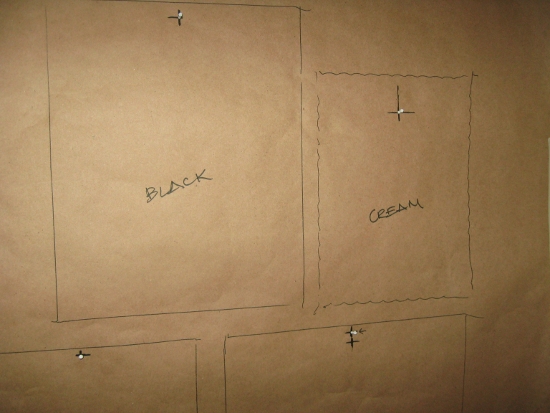
Use masking tape to apply your finished template to the wall. Hammer the nails right through the paper, then remove the template. Try not to rip the template, as you may need it to remind you where each frame belongs.
Step 5: Hang the pictures
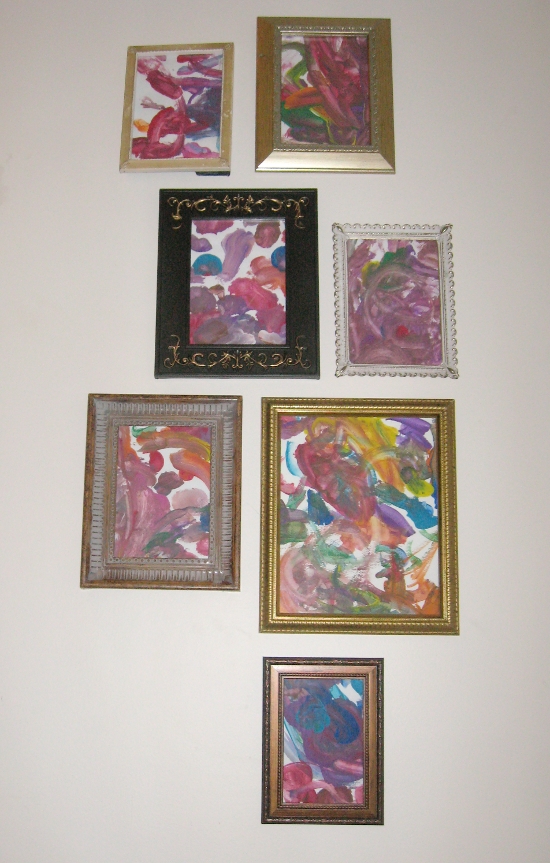
With all the nails in place, all that’s left is to hang the pictures! It couldn’t be easier. The end result will closely resemble what you laid out on the paper. Alignment may not be perfect, but don’t worry–groupings are meant to be more casual.
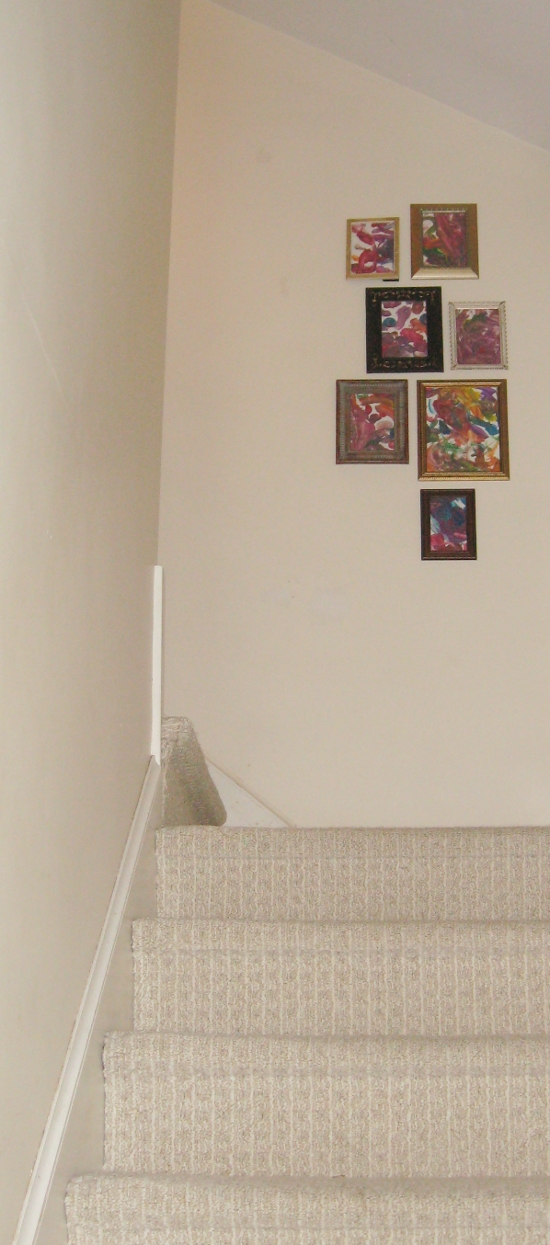
I love it! Now I’ll have something happy to look at each time I walk up the stairs. Mr. Boy, who loves museums, is thrilled to have an art gallery in his own house. I think kids’ artwork (and every single one of them is an artist) makes a great statement, but you might also use photographs and prints. My grandmother has a wall full of wedding photos of our relatives dating back several generations. Collections are not only great decor but also great conversation starters.

How fun. I’ve been thinking of doing this with all the artwork my preschooler comes home with.
That would be really cute! Kind of a step up from the fridge 🙂
This is so cute! I love displaying my kiddos art on the walls in our house…and not on the fridge:)
Thanks Kelli!
I always do this in my home. Love it!!! Great post!
Thank you Nicole!
What a great idea! Love it!
Thank you Kim!